Frequency Separation for Photographers: Precision Skin Retouching Without Plastic Results
Frequency separation for photographers is the cleanest way to correct skin tone and texture separately—so you can refine portraits without losing realism.
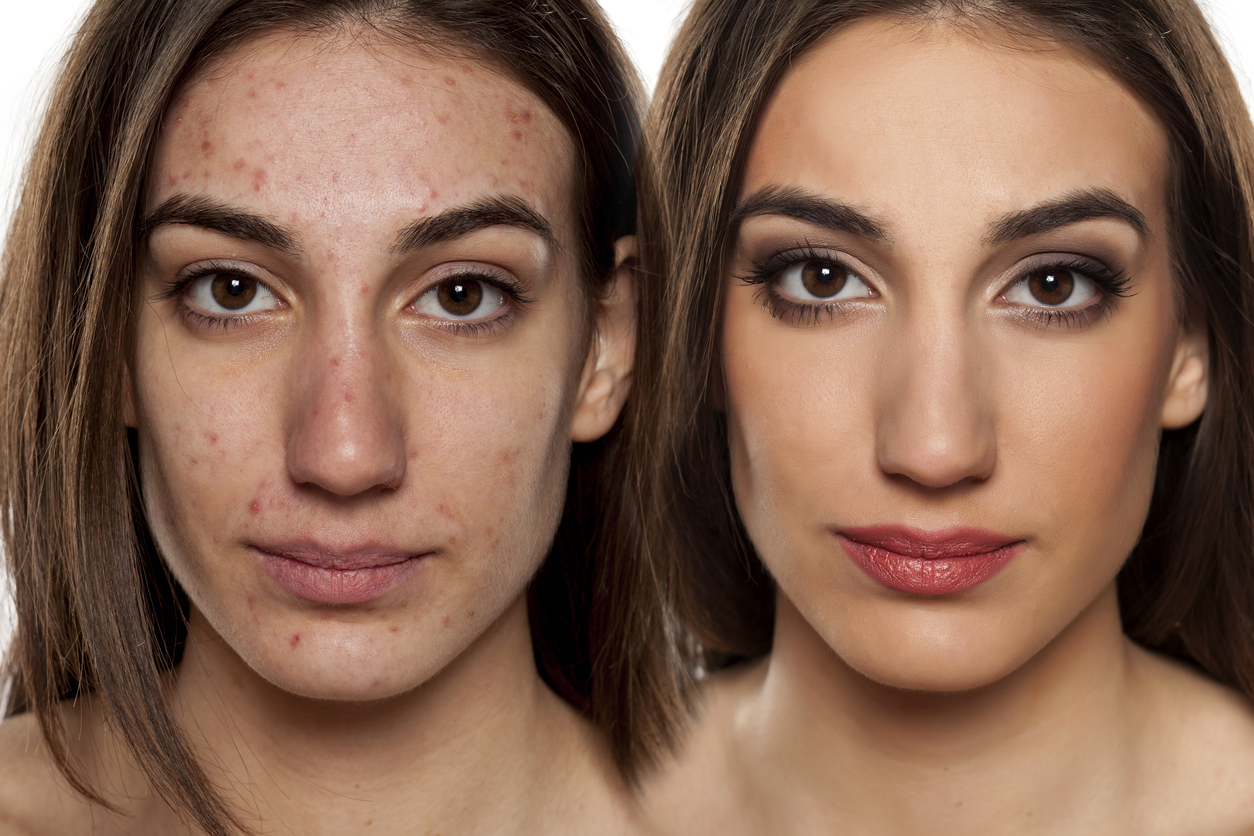
What frequency separation actually solves
Most “bad retouching” happens for one reason: tone correction and texture correction get mixed together. When you try to fix blotchiness
with a tool that also affects pores, you get wax. When you try to fix texture with a tool that also shifts tone, you get smears.
Frequency separation is a disciplined answer: separate the image into two layers—one that holds tone (low frequency)
and one that holds texture (high frequency)—then retouch each problem in its proper place.
Used well, frequency separation looks invisible. Used aggressively, it becomes unmistakable. This post is about the invisible version:
refined, realistic, and printable.
When to use it (and when to skip it)
- Use frequency separation when skin tone transitions need smoothing but pores and fine texture must stay intact.
- Skip it when the issue is global lighting, color cast, or exposure—solve those first with tonal adjustments.
- Skip it if you’re tempted to “perfect” the subject—aim for refinement, not reconstruction.
The core idea: tone lives low, texture lives high
Think of skin as two overlapping realities:
- Low frequency (tone): gradients, blotchiness, under-eye transitions, redness falloff.
- High frequency (texture): pores, fine wrinkles, hair, micro-contrast detail.
Once separated, you stop using one tool for everything. That’s why the results look natural.
Frequency separation for photographers: a reliable setup
1) Prep the file (master discipline)
- Complete global adjustments first (overall exposure, white balance, color balance).
- Do basic cleanup before separation (dust, temporary distractions, obvious blemishes).
- Work at 100% for fine decisions, but zoom out often to judge realism.
2) Create the two layers
Duplicate your retouched base layer twice. Name them clearly:
Low Frequency (Tone) and High Frequency (Texture).
3) Build the Low Frequency layer (tone)
- Apply Gaussian Blur to Low Frequency until pores soften but facial shapes remain clear.
- The blur radius is not a magic number—it depends on resolution and viewing distance.
4) Build the High Frequency layer (texture)
Use Apply Image to extract texture from the original (unblurred) layer and place it into the High Frequency layer.
Then set High Frequency to Linear Light.
The exact Apply Image settings vary by bit-depth and workflow, but the goal is always the same: High Frequency contains texture only,
while Low Frequency contains tone only. Once the blend mode is correct, the combined result should match the original image.
Retouching workflow that stays natural
Low Frequency (tone corrections)
- Use a soft approach: Lasso a small area → feather generously → apply a gentle blur to even tone transitions.
- Work in small regions. If you blur a large area, you erase form and structure.
- Prioritize transitions (cheek to jaw, under-eye to cheek, forehead gradients).
High Frequency (texture corrections)
- Use Healing/Clone tools for texture-only problems (micro blemishes, stray hairs, small texture interruptions).
- Keep brush size small and sample frequently. Texture should remain consistent with surrounding skin.
- If you find yourself “painting skin,” stop. You’re no longer correcting texture—you’re inventing it.
The realism test (do this repeatedly)
- Toggle the entire frequency separation group on/off. If the subject looks “edited,” you went too far.
- Zoom out to fit-to-screen. If the face looks flat, you over-smoothed tone.
- Zoom in to 100%. If pores look inconsistent or patterned, texture edits became synthetic.
Integrate into a Smart Object master workflow
Frequency separation is not a standalone trick; it is a layer structure. If you maintain a master PSD/PSB strategy,
you can preserve flexibility by grouping the Low/High layers and (when appropriate) converting the group into a Smart Object
for protection in a larger non-destructive stack.
- Group: FS — Tone + Texture (clean naming matters).
- Keep your global grading above it (Curves, Color Balance, Selective Color as adjustment layers).
- Do output sharpening only in export copies, not in the master.
Hands-On Practice (15 minutes)
- Pick one portrait with mild blotchiness and natural texture.
- Build frequency separation and correct tone transitions in three small regions only.
- Correct texture in three micro-areas only (no broad brushing).
- Toggle the group off/on. Your goal is “cleaner,” not “different.”
Quick Check
- Does skin still have believable pores and micro-texture?
- Are tone transitions smoother without removing facial structure?
- Does the subject still look like themselves?
- Could you print this at 16×20 without the retouching becoming obvious?
Continue in Create →
View all Create posts
Jump to:
Learn
Envision
Create
References
-
Adobe Photoshop Tutorials (reference).
Open -
Adobe Photoshop User Guide — Retouch and repair (reference).
Open -
Associated blog:
Photo Sharpening Workflow: Detail Without Damage -
Associated blog:
Smart Objects for Photographers: Non-Destructive Editing That Never Backs You Into a Corner
🌿 Download the Frequency Separation for Photographers Checklist (.docx).