Finishing Fine-Art Prints for Presentation: From Proof to Exhibition
A fine-art print is not finished when it leaves the printer. Presentation is the final stage of the photographic workflow.
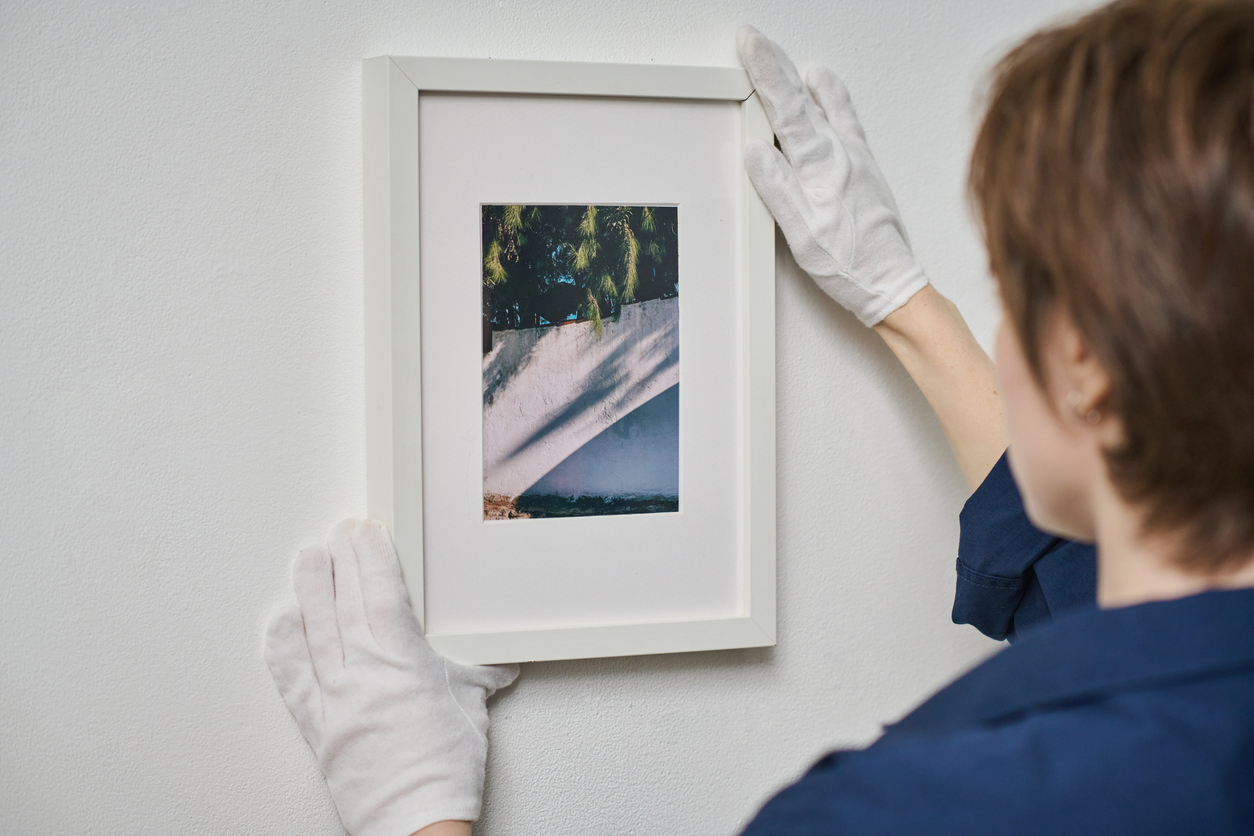
Finishing fine-art prints for presentation is the point where the photographic workflow becomes physical.
The image has been edited, soft proofed, printed, and approved. Now the print must be handled, inspected, signed, mounted,
protected, framed, and prepared for display without compromising the work that came before it.
Create 22 focused on producing consistent prints across a photographic series. This next stage takes those approved prints
and prepares them for exhibition, sale, collection, or long-term display.
The goal is not decorative excess. Instead, every presentation decision should protect the print, support the photograph,
and maintain consistency across the body of work.
1. Finishing Fine-Art Prints for Presentation Begins With Inspection
Before signing, mounting, or framing anything, inspect the finished print carefully under neutral, even light.
A print that looked correct at the printer may still reveal a small defect once viewed as an object rather than as an image.
Dust, roller marks, surface scuffs, fingerprints, trimming errors, or subtle tonal inconsistencies are easier to address now
than after framing.
Check for:
- surface contamination or dust
- ink or coating irregularities
- scratches, abrasions, or handling marks
- banding or unexpected tonal variation
- uneven borders
- crooked trimming
- unexpected color shifts
- damage at corners or edges
If a flaw will remain visible in the finished presentation, reprint rather than hoping the frame will hide it.
2. Allow the Print to Stabilize Before Final Handling
Newly produced inkjet prints should be treated carefully before final assembly.
Avoid stacking fresh prints face-to-face or placing pressure directly on the image surface. Instead, keep them protected
in a clean, dry environment until they are ready for final finishing.
The exact stabilization time depends on the ink, paper, environmental conditions, and manufacturer guidance. Therefore,
follow the recommendations for the specific materials in use rather than relying on one universal time period.
Workflow checkpoint: Do not rush a freshly printed photograph directly into a frame package simply because
the image appears dry to the touch.
3. Handle the Finished Photograph as an Object
Once the print is final, handling discipline becomes part of the preservation workflow.
Work on a clean, dry surface free of food, drinks, dust, and unnecessary tools. The Library of Congress recommends clean,
well-fitting cotton or nitrile gloves when handling photographs because fingerprints and handling damage can permanently
mark photographic surfaces.
Large prints deserve particular care because their size increases the risk of bending, denting, or creasing.
Good handling practice includes:
- supporting large prints with both hands
- avoiding contact with the image surface
- keeping the worktable clean and dry
- removing loose dust with a suitable air bulb rather than canned air
- avoiding adhesive notes, clips, rubber bands, or temporary tape on the print
4. Decide Where and How the Print Will Be Signed
The artist’s signature establishes authorship and becomes part of the finished object.
Before signing, decide whether the signature belongs on the front margin, the verso, or another consistent location.
The approach should remain stable across a series or edition whenever practical.
Keep the signature subordinate to the photograph. It should identify the work without competing visually with it.
Record consistently:
- artist signature
- title
- edition number when applicable
- year of printing or completion if part of your practice
For valuable prints, documentation on the certificate or accompanying records can carry information that does not need
to appear directly on the image itself.
5. Keep Edition Information Consistent
If the photograph belongs to a limited edition, the edition system should be established before individual prints are sold.
A notation such as 3/10 generally identifies the individual print and total edition size. Whatever system is used,
maintain accurate records so that edition numbers are never duplicated accidentally.
The physical print, certificate, inventory record, and sales documentation should agree.
Pro Tip: Treat edition control as an archival recordkeeping task, not merely a handwritten notation.
6. Choose Preservation-Appropriate Materials
The materials surrounding the photograph matter because they remain in close proximity to the print for years.
Preservation guidance from the Library of Congress recommends chemically stable matting and framing materials. For
photographic works, materials in direct contact with the photograph should be suitable for photographic use and ideally
meet the Photographic Activity Test.
Avoid assuming that a product labeled simply archival or acid-free is automatically appropriate for every
photographic process.
For a preservation-conscious frame package, consider:
- photo-safe mat or backing materials
- chemically stable spacers
- appropriate glazing
- stable backing boards
- non-damaging mounting methods
- materials selected for long-term contact with photographic prints
7. Separate the Photograph From the Glazing
The image surface should not rest directly against the glass or acrylic glazing.
A window mat can create this separation. Alternatively, frame spacers can maintain an intentional air gap while allowing
the full print edge to remain visible.
The Library of Congress specifically recommends designing the frame so that the photographic surface does not touch the glazing.
This separation helps reduce the risk of physical contact, sticking, abrasion, and other surface problems.
8. Decide Between Matting and Floating Presentation
Presentation method influences both preservation and visual character.
A traditional window mat partially overlaps the print and creates a formal border around the image. A floating presentation
reveals more of the paper and may emphasize the handmade character of the print.
Neither approach is automatically superior. The correct choice depends on the photograph, the paper, the desired presentation,
and the mounting method.
However, floating a print does not eliminate the need for protection from the glazing. A spacer system may still be necessary.
9. Make the Frame Serve the Photograph
A frame is both protective structure and visual boundary.
Its job is to support the artwork rather than call attention to itself. For a photographic series, a consistent frame style can
also strengthen the identity of the body of work.
Consider:
- frame profile
- frame color
- depth of the rabbet
- strength and rigidity
- compatibility with glazing and backing
- visual relationship to the paper and image
If wood is used, preservation-oriented framing may include a barrier between the frame rabbet and the internal package to reduce
migration from the wood into surrounding materials.
10. Choose Glazing for Protection and Viewing Quality
Glazing protects the print from handling, airborne debris, and environmental exposure. It also affects how comfortably the
viewer can see the photograph.
Standard glass, acrylic, UV-filtering products, anti-reflective glazing, and museum-grade options each have different optical,
physical, and cost characteristics.
UV-filtering glazing can reduce ultraviolet exposure. However, it does not make a print immune to light damage.
All light exposure contributes to deterioration over time.
Therefore, glazing should be considered one component of a broader preservation strategy rather than a substitute for appropriate
display conditions.
11. Install a Stable Backing System
The rear of the frame package is easy to ignore because the viewer rarely sees it. Nevertheless, it protects the photograph from
dust, handling, and environmental exposure.
A properly assembled backing system should support the internal package without pressing unevenly against the artwork.
Preservation guidance favors stable, acid-free or inert backing materials rather than improvised cardboard or unknown paper products.
A finished dust cover can also help keep debris out of the frame and give the artwork a professional appearance from the rear.
12. Add Hanging Hardware Deliberately
Hanging hardware is part of the finished artwork, not an afterthought.
The system must support the complete framed weight safely and hold the work securely against the wall.
Depending on frame size and weight, options may include traditional picture wire, D-rings, cleats, or other professional
hanging systems.
Whatever method is chosen, install it consistently across a series when possible. This simplifies exhibition installation
and helps neighboring works align correctly.
Workflow checkpoint: Confirm that both the frame hardware and the wall attachment are rated appropriately for the finished weight.
13. Protect the Work From Damaging Display Conditions
Even a carefully framed photograph remains vulnerable to its environment.
Avoid direct sunlight, intense light, fireplaces, radiators, heating and cooling vents, damp locations, and walls prone to
condensation or large temperature swings.
Preservation guidance also favors limiting overall light exposure because fading and other light-related changes are cumulative
and irreversible.
For valuable works, think of display as controlled exposure rather than permanent immunity.
14. Review the Entire Series as Finished Objects
When finishing fine-art prints for presentation, evaluate the completed framed works together rather than one at a time.
Small inconsistencies become much more obvious once several finished pieces are placed side by side.
Compare:
- frame profiles
- mat or spacer widths
- print placement
- signature placement
- border dimensions
- hardware positioning
- backing and labeling
- overall visual weight
A series should feel intentionally unified from the front, sides, and back.
15. Perform a Final Presentation Inspection
Before the work leaves the studio, inspect the entire piece as though you were the collector, curator, or gallery installer receiving it.
Examine the glazing for fingerprints, dust, scratches, or streaks. Check frame corners and edges. Confirm that the print is level
inside the frame and that no debris is trapped within the package.
Then turn the work over and inspect the back with equal care.
Confirm:
- hardware is secure
- dust cover is intact
- labels are accurate
- edition information matches studio records
- certificate information is correct
- frame and glazing are clean
- nothing rattles or shifts when the work is moved
16. Document the Finished Artwork
Once the piece is complete, document it before delivery.
Record the finished dimensions, print size, frame specification, glazing, edition number, completion date, and any other
information required for future replacement or inventory.
Photographing the finished framed piece can also provide a useful studio record.
Good documentation makes future exhibition preparation, insurance records, collector communication, and edition management easier.
17. Prepare the Work for Transport
Exhibition-ready presentation still requires safe transport.
Protect the face, corners, frame edges, and hanging hardware. The packaging method should prevent movement, abrasion, impact,
and pressure against the glazing during transportation.
For larger framed works, handling and transportation should be planned before the artwork is carried through the studio door.
A beautifully finished piece can be damaged quickly by poor packing.
PhotoFovea Fine-Art Print Presentation Workflow
- Inspect the print: Reject visible defects before finishing begins.
- Allow stabilization: Give the print appropriate time before assembly.
- Handle carefully: Protect the image surface throughout the process.
- Sign and document: Apply consistent artist and edition information.
- Select archival materials: Build the package from stable, photo-safe components.
- Separate from glazing: Use matting or spacers to protect the print surface.
- Choose the frame: Let the frame support rather than dominate the photograph.
- Install glazing: Balance protection, reflection control, and presentation quality.
- Complete the backing: Protect the rear of the frame package.
- Install hardware: Use a secure hanging system appropriate for the finished weight.
- Inspect the series: Compare presentation details across all works.
- Document and pack: Record the completed piece and protect it for transport.
Hands-On Practice
Choose one approved fine-art print and take it through the entire presentation-planning process without permanently assembling it.
- Inspect the print under neutral light.
- Determine the signature and edition placement.
- Choose either a matted or floating presentation.
- Select appropriate backing and separation from the glazing.
- Choose a frame profile and glazing type.
- Determine the hanging system.
- Write down the complete presentation specification.
- Compare the plan with at least two other prints from the same series.
- Adjust anything that would create unnecessary inconsistency.
Quick Check
- Has the finished print passed a careful physical inspection?
- Is the photograph being handled without unnecessary contact?
- Are signature and edition practices consistent?
- Are matting, backing, and spacer materials appropriate for photographs?
- Is the print separated from the glazing?
- Does the frame support rather than overpower the photograph?
- Is the hanging hardware appropriate for the finished weight?
- Have display conditions been considered?
- Does the completed series look consistent as a group?
- Has the finished work been documented before delivery?
Glossary
Photographic Activity Test (PAT): A standardized test used to evaluate whether enclosure and display materials
are suitable for long-term contact with photographic materials.
Glazing: Glass or acrylic placed in front of artwork to provide physical and environmental protection.
Frame Spacer: A material placed inside the frame to maintain separation between the artwork and glazing.
Window Mat: A matboard layer with an opening that frames the image while helping keep the artwork separated from the glazing.
Float Mount: A presentation in which the edges of the print remain visible rather than being overlapped by a window mat.
Dust Cover: A protective backing sheet applied to the rear of a frame to reduce entry of dust and debris.
Edition: A defined number of authorized prints produced from a photographic image under the artist’s stated edition system.
Continue in Create →
View all Create posts
Jump to:
Learn
Envision
Create
References
-
Library of Congress — Preservation Guidelines for Matting and Framing.
Read reference -
Library of Congress — Care, Handling and Storage of Photographs.
Read reference -
Associated blog:
Preparing a Photo Series for Print -
Associated blog:
Editing a Cohesive Photo Series
🌿
Download the Finishing Fine-Art Prints for Presentation Checklist (.docx).