Dodge & Burn for Photographers: Sculpting Light with Precision
Dodge and burn for photographers is one of the most powerful ways to shape light, direct attention, and add depth—without leaving visible fingerprints of editing.
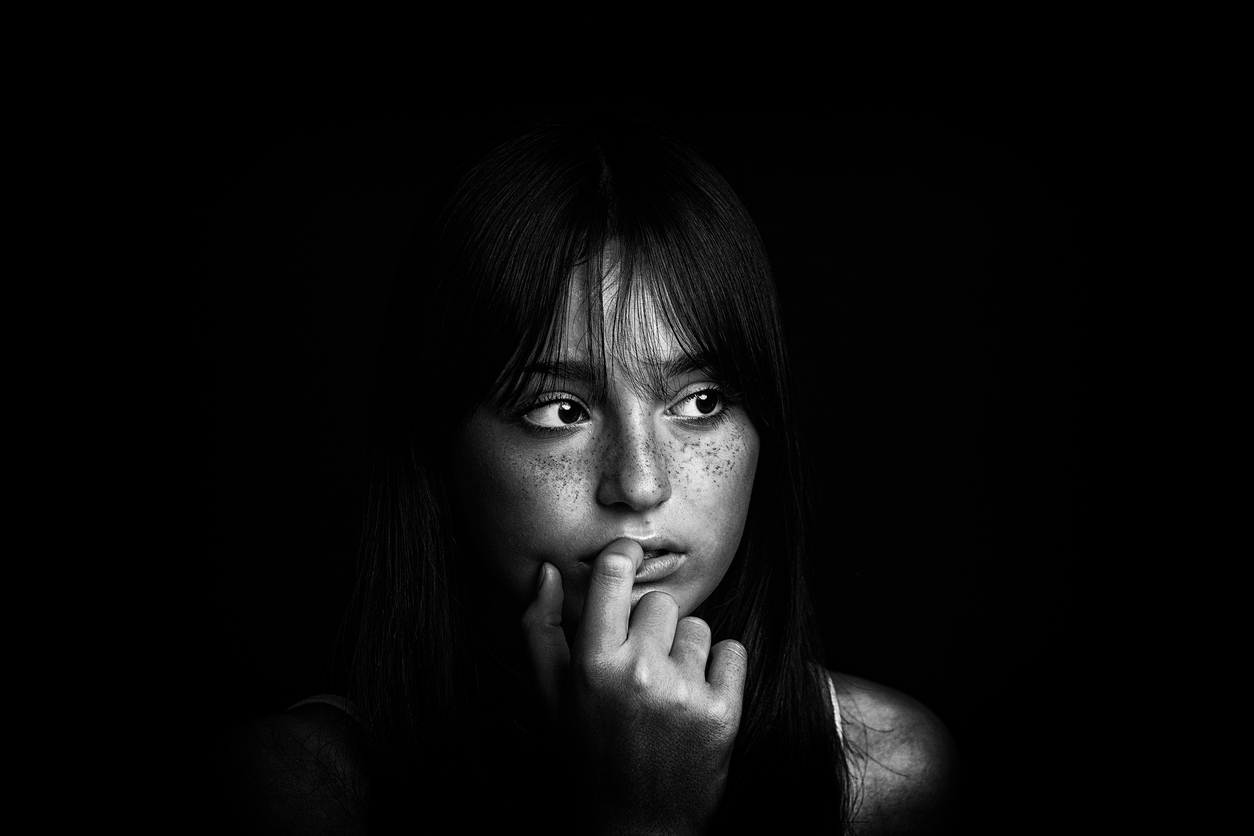
Why dodge and burn still matters
Many editing tools correct a photograph. Dodge and burn can shape one. At its best, it does not call attention to itself.
It quietly strengthens structure, improves depth, and helps the viewer look where you want them to look.
That is why dodge and burn remains one of the most refined techniques in photographic post-processing.
Dodge and burn for photographers is not about making everything brighter and darker. It is about visual hierarchy.
You decide what deserves emphasis, what should recede, and how transitions in light can make a flat file feel dimensional again.
The simple idea: lighten with purpose, darken with restraint
Dodging means selectively lightening areas. Burning means selectively darkening areas. But the real skill lies in why you do each one.
Dodge to reveal form, to lift the subject, or to guide attention. Burn to add depth, reduce distractions, and strengthen edge control.
Used together, they create a rhythm of emphasis that feels natural because it mimics the way light already describes form.
What dodge and burn is best used for
- Portraits: refining cheekbones, under-eye transitions, jawline depth, and background separation.
- Still life: strengthening dimensionality and controlling where the eye settles first.
- Architecture and landscape: managing visual flow through contrast and local light control.
- Fine-art work: creating mood without obvious “effect” editing.
A non-destructive setup that stays flexible
The cleanest starting point is two separate Curves adjustment layers: one for Dodge and one for Burn.
Lift the curve slightly for Dodge. Lower the curve slightly for Burn. Then invert both masks to black so the effect is hidden until you paint it in.
This gives you controlled, reversible, non-destructive shaping.
- Create one Curves layer named Dodge.
- Create one Curves layer named Burn.
- Invert both masks to black.
- Paint with a soft white brush at low opacity to reveal the effect gradually.
Dodge & burn for photographers: the working method
1) Start with a clear intent
Before touching the brush, decide what the image needs. Does the subject need stronger separation? Does the eye wander into bright distractions?
Is the face structurally flat? If you do not know what you are trying to improve, dodge and burn becomes random.
2) Dodge the planes that deserve emphasis
Dodging works best when it strengthens form rather than simply brightening pixels. Think in planes:
forehead, cheekbone, bridge of nose, upper lip, hands, edges of fabric, highlights in leaves, reflective contours in objects.
- Use a soft brush.
- Keep opacity low.
- Build the effect in multiple passes instead of one heavy stroke.
- Zoom out often to ensure the change reads naturally.
3) Burn to reduce distraction and add depth
Burning is not just the opposite of dodging. It is a powerful tool for simplifying the frame.
Slightly darkening a distracting edge, background patch, or competing highlight can do more for the image than brightening the subject.
- Burn edges that pull the eye away from the center of interest.
- Burn shallow shadow areas gently to restore depth.
- Avoid crushing blacks—detail should remain present unless true silhouette is your intent.
4) Work in terms of flow, not spots
A common mistake is treating dodge and burn as a collection of isolated corrections. Instead, look for flow.
How does the light move through the image? Where does it pause? Where should the viewer enter, linger, and exit?
When you dodge and burn with flow in mind, the whole image becomes more coherent.
5) Review at multiple zoom levels
Dodge and burn can look perfect at 200% and completely wrong at fit-to-screen. Review at multiple zoom levels.
If the effect feels obvious from a normal viewing distance, pull it back. The best dodge and burn usually disappears into the image.
Integrating dodge and burn into a Smart Object workflow
This technique fits naturally into a non-destructive master file. Keep global tonal and color adjustments separated from local shaping.
If you are working in a Smart Object-centered PSD/PSB, place dodge and burn above the protected base composite, and keep output sharpening for export copies only.
- Base composite or Smart Object master below.
- Global adjustments above the base.
- Dodge and Burn group above those, clearly labeled.
- Sharpening only in print/web output versions, not the master.
Hands-On Practice (15 minutes)
- Choose one image with clear subject structure and a mild background distraction.
- Create separate Dodge and Burn Curves layers with black masks.
- Dodge only three areas that strengthen the subject.
- Burn only three areas that reduce distraction or add depth.
- Toggle the group on/off. The result should feel clearer, not more “edited.”
Quick Check
- Does the eye land faster on the intended subject?
- Do the lightened areas reinforce form rather than just increase brightness?
- Do the darkened areas simplify the frame without muddying detail?
- Does the image still look natural at normal viewing size?
Continue in Create →
View all Create posts
Jump to:
Learn
Envision
Create
References
-
Adobe Photoshop Tutorials (reference).
Open -
Adobe Photoshop User Guide — Adjustment layers and masks (reference).
Open -
Associated blog:
Smart Objects for Photographers: Non-Destructive Editing That Never Backs You Into a Corner -
Associated blog:
Frequency Separation for Photographers: Precision Skin Retouching Without Plastic Results
🌿 Download the Dodge & Burn for Photographers Checklist (.docx).