Masking Mastery for Photographers: Precision Selections Without Halos
Masking mastery for photographers is the difference between an edit that feels seamless and one that reveals itself through bright edges, muddy transitions, or artificial cutouts.
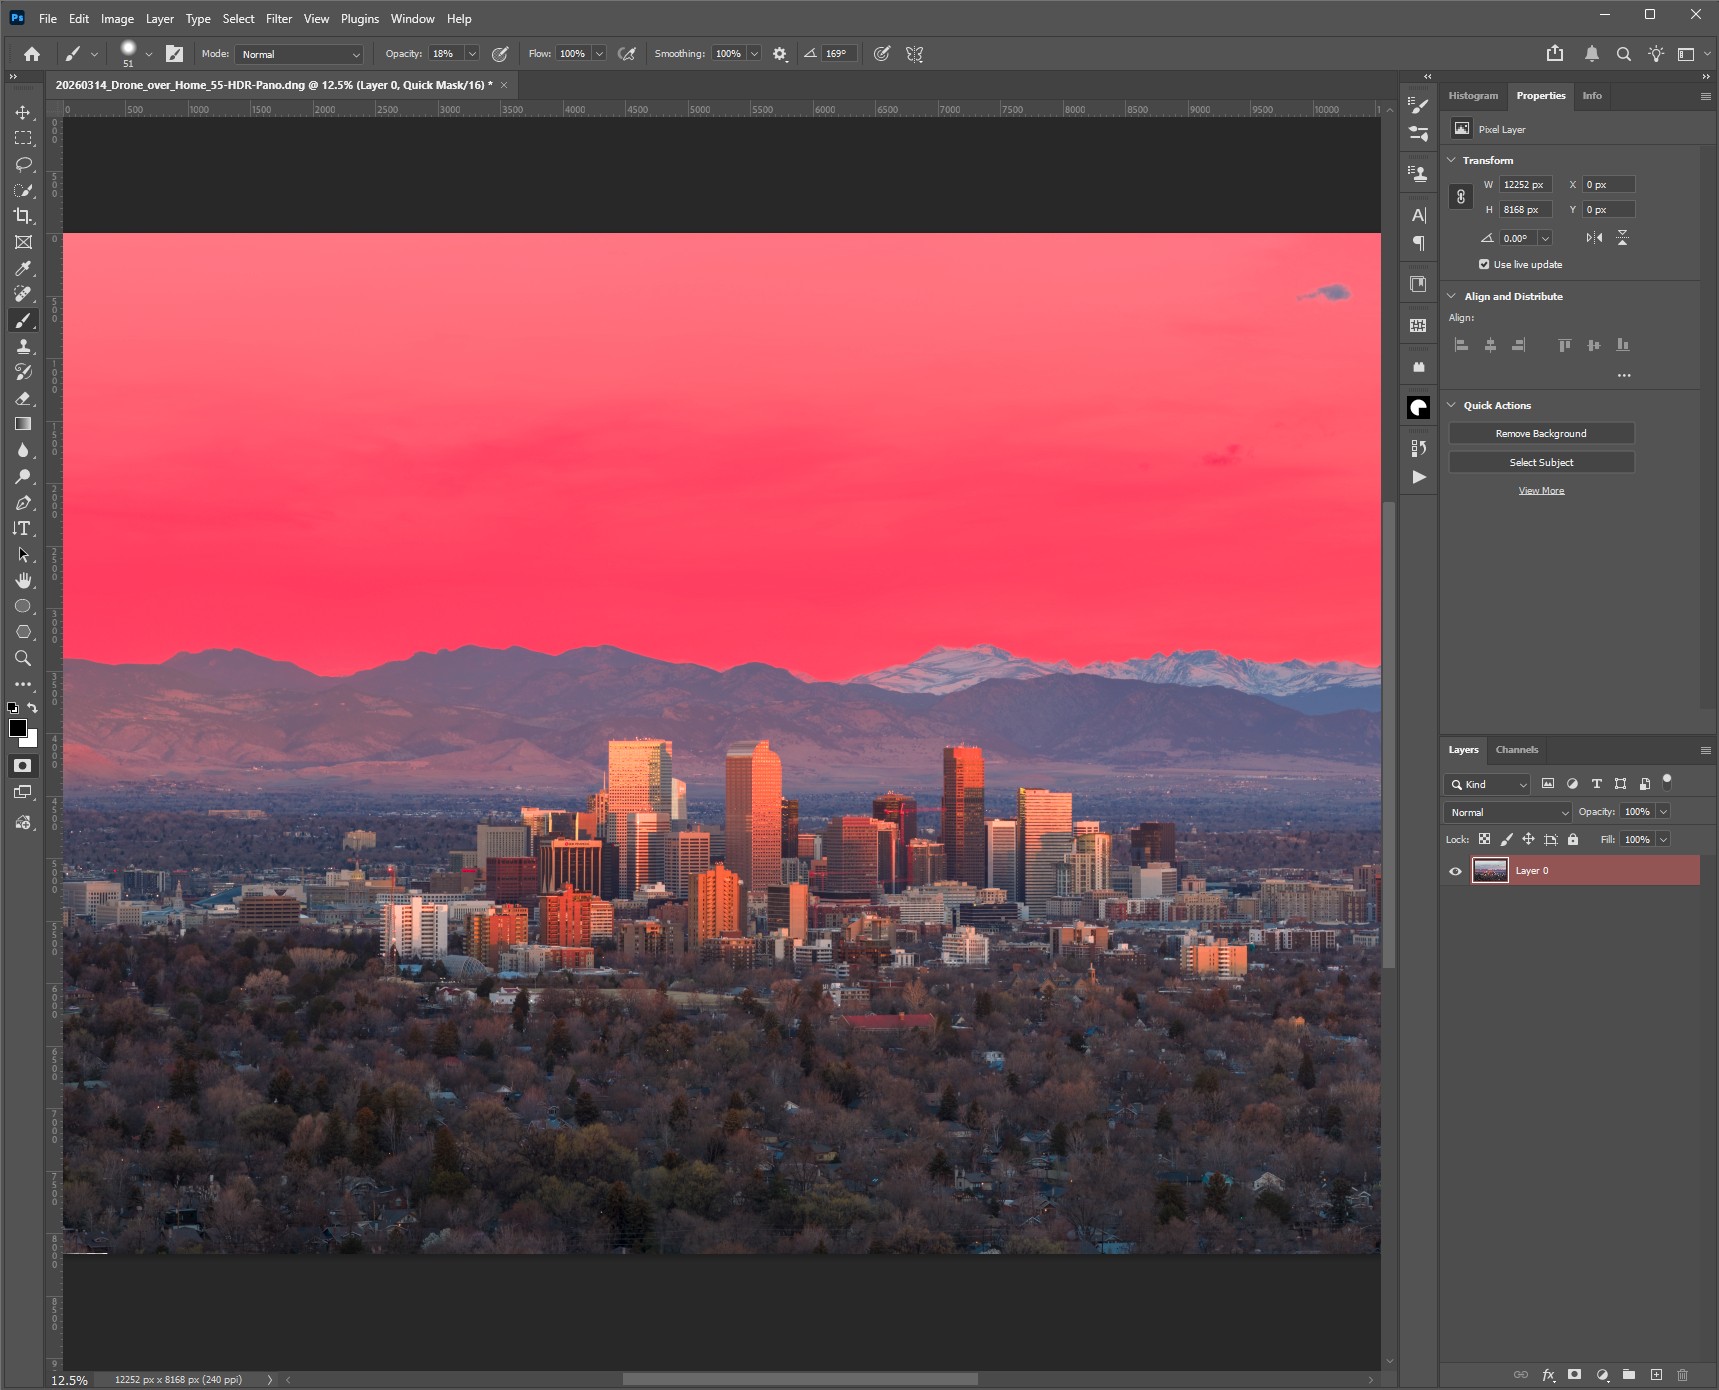
Why masking matters so much
Many edits fail at the edge. The color shift may be strong, the local adjustment may be correct, and the retouching may be technically impressive—but if the selection edge is wrong, the illusion collapses.
A bright halo, a clipped strand of hair, or a hard transition where softness should exist immediately tells the viewer that the image has been manipulated.
Masking mastery for photographers is not just about isolating objects. It is about controlling where an edit begins, where it fades, and how naturally it belongs inside the photograph.
That is why masking is foundational across portraiture, still life, architecture, landscape, and fine-art editing.
The real goal: integration, not extraction
Photographers often think of masking as “cutting something out.” But most strong masking is less dramatic than that.
It is really about integration. You are deciding how one part of the image should respond differently than another—more light here, less saturation there, sharper here, softer there—without damaging the natural relationships in the file.
A good mask does not call attention to itself. It simply allows the edit to feel inevitable.
What creates bad masks
- Halos: bright or dark outlines caused by inaccurate edges or over-aggressive contrast changes.
- Hard transitions: abrupt edges in places where the real scene would have softness or atmospheric falloff.
- Missing detail: clipped hair, fabric edges, branches, foliage, or fine contours.
- Wrong softness: blurred edges where the subject should feel crisp, or crisp edges where optical softness should remain.
Masking mastery for photographers: a practical workflow
1) Start by asking what truly needs isolation
Before making a selection, decide what the edit is trying to do. Does the subject need separation from the background? Are you controlling color in one zone only?
Are you refining sky tone without touching architecture? If you do not know the purpose of the mask, you are more likely to make one that is technically elaborate but visually unnecessary.
2) Use the fastest intelligent starting point
In modern Photoshop workflows, there is no virtue in starting every mask from scratch.
Use Select Subject, Object Selection, or another smart selection tool as your starting point when appropriate.
The point is not to prove skill by wasting time. The point is to get to a workable foundation efficiently.
- Use automatic tools as a first pass.
- Expect refinement to be necessary, especially around complex edges.
- Treat every auto-selection as provisional, not final.
3) Refine edges where reality becomes delicate
Hair, fur, semi-transparent fabric, foliage, and fine contours are where a mask succeeds or fails.
This is where Select and Mask becomes useful. But refinement should be restrained.
Too much feathering makes the subject glow. Too much contrast makes the edge look cut with scissors.
- Use feather carefully.
- Adjust edge contrast only enough to clean ambiguity.
- Shift the edge minimally to remove contamination without shrinking the subject unnaturally.
4) Match edge softness to the photograph
One of the most overlooked skills in masking is understanding that not all edges should be equally sharp.
Optical reality matters. A sharply focused jawline may deserve a firmer edge than out-of-focus hair or distant branches.
Edge behavior should match focus, depth, atmosphere, and lens rendering.
5) Use luminosity masks when tone matters more than objects
Object-based masks are not always the best answer. Sometimes you are not isolating a subject at all—you are targeting tonal ranges.
That is where luminosity masks become powerful. They allow you to affect highlights, midtones, or shadows with far more subtlety than a blunt manual selection.
- Use luminosity masks for tonal shaping in sky, architecture, skin transitions, or layered landscapes.
- Prefer them when the edit should follow the light, not the outline of an object.
6) Use Color Range when hue is the real boundary
Sometimes the cleanest selection is based on color rather than geometry.
Color Range can be very effective for isolating sky, foliage, backgrounds, or specific tonal/hue families—especially when those areas are visually distinct but awkward to trace manually.
This is most useful when your edit is color-specific: calming an oversaturated background, shifting foliage balance, or isolating a sky for tonal refinement.
7) Combine masks instead of forcing one mask to do everything
Complex images often require layered thinking. A subject mask may define the broad area, a luminosity mask may refine the light within it, and manual brushing may correct the final edge behavior.
Strong masking is rarely the result of one perfect click. It is usually the result of combining methods intelligently.
How to test whether a mask is believable
- View the edit against different backgrounds when possible.
- Toggle the adjustment on and off while watching only the edges.
- Zoom in to inspect detail, then zoom out to judge realism.
- Look specifically for glow, dark rims, clipped detail, or abrupt transitions.
Integrating masking into a Smart Object workflow
Masks are at their best when they remain editable. That means building them into a fully non-destructive structure.
Keep the base image protected, use adjustment layers with masks above it, and preserve flexibility so you can refine the selection later rather than locking it permanently into the file.
- Base composite or Smart Object master below.
- Adjustment layers above, each with clearly named masks.
- Group related masked edits for organization.
- Reserve flattening only for final export copies, never for the master file.
Hands-On Practice (15 minutes)
- Choose one image with a complex edge: hair, leaves, fabric, or a detailed subject against a contrasting background.
- Start with Select Subject or Object Selection.
- Refine the edge carefully in Select and Mask.
- Add one adjustment layer using that mask.
- Then test a second method—luminosity or Color Range—to improve part of the same selection.
- Compare the result at 100% and fit-to-screen. The goal is not just accuracy, but believability.
Quick Check
- Do the edges look natural at normal viewing size?
- Are there any visible halos, dark rims, or clipped fine details?
- Does the edge softness match the photograph’s actual focus and depth?
- Is the edit integrated well enough that the viewer would never think about the mask?
Continue in Create →
View all Create posts
Jump to:
Learn
Envision
Create
References
-
Adobe Photoshop Tutorials (reference).
Open -
Adobe Photoshop User Guide — Make selections and masks (reference).
Open -
Associated blog:
Smart Objects for Photographers: Non-Destructive Editing That Never Backs You Into a Corner -
Associated blog:
Dodge & Burn for Photographers
🌿 Download the Masking Mastery for Photographers Checklist (.docx).